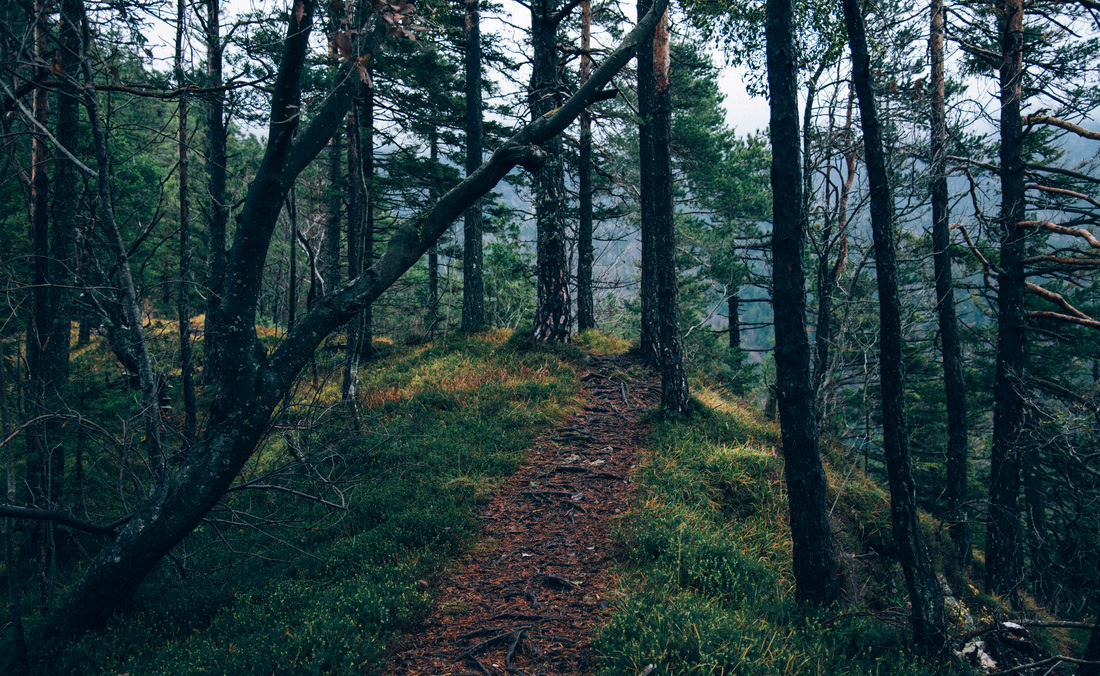
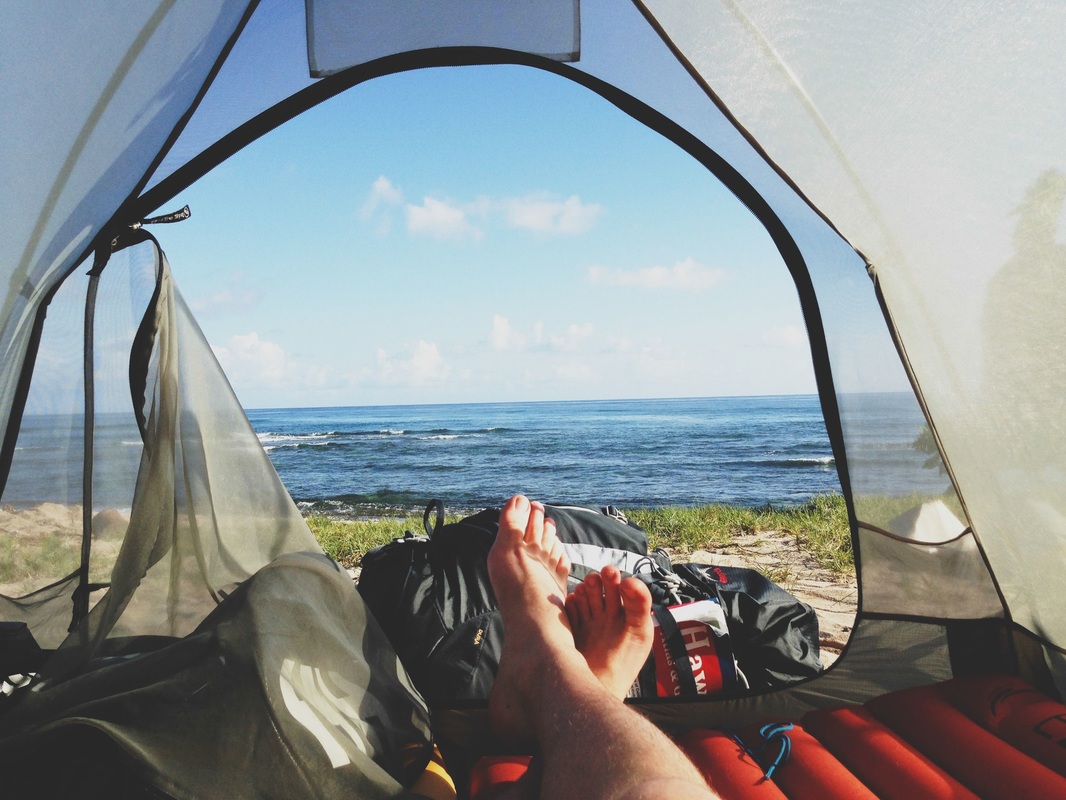
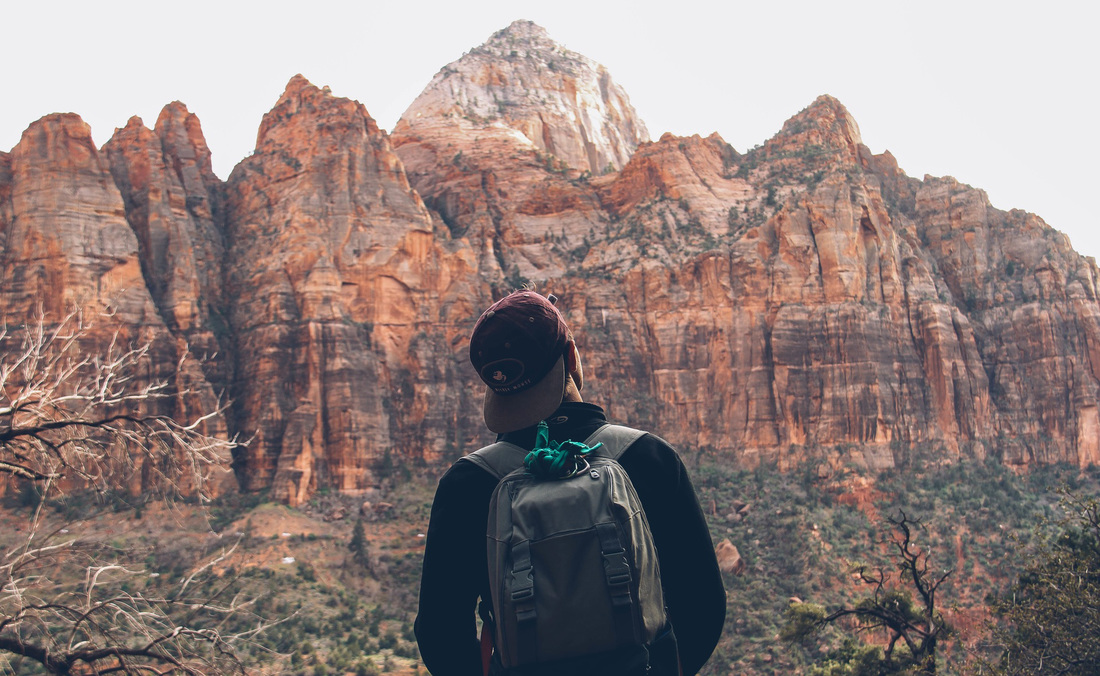
I'm James. This is my year of travel.

Use the drop-down menu to change the Blend Mode to Lighten or Screen, depending on what works best for your image. Once the overlay is in position, find the Blend Mode in the Layers Panel, which is set to Normal by default. Step 3: Change The Overlay Layer’s Blend Mode Then, resize the overlay if needed by clicking on any of the corner anchor points and dragging the layer inwards or outwards. If you need to rotate the overlay, hover your mouse just outside the transform box, then click and drag the overlay to the side when the double arrow icon appears. A blue box will appear around your overlay layer. Next, open the Transform Toolby pressing Control + T (Win) or Command + T (Mac). Your overlay image will be placed on top of the base image. Once you locate the image, select it and click Place. Next, go to File > Place Embedded, and find the overlay image in your files. Step 1: Open Your Base Image And Overlay Image In Photoshopįirst, open your base image in Photoshop. Note: An image with a dark or black background works best as an overlay. I recommend looking at Pexels or Unsplash to look for overlays. All you need is to download a smoke overlay image. Overlays are a great way to quickly add a lot of smoke to an image. How To Add Smoke In Photoshop Using Overlays You should now have a realistic-looking form of smoke. Once your smoke is properly formed, you can adjust the Opacity and Fill with their respective sliders in the Layers Panel. Step 6: Adjust The Opacity And Fill Of Your Smoke Layer Use the grid to help shape your smoke form the way you want it. You can add more squares to your grid in the Options Bar. You will now have a grid where you can manipulate the shape of your form. Now that your layers are merged into one, select your new merged layer, open the Transform Tool using Control + T (Win) or Command + T (Mac), then click on the Warp Tool. Right-click on your selection, then pick Merge Layers. To make it easier to use the Transform adjustment, select all of the layers besides the background. Step 5: Use The Transform Mesh To Form Your Shape You can combine multiple brushes are varying opacities to get a variety of unique effects. Clicking once over the image to apply the smokey effect. Since these are premade smoke effects, think of them like a stamp rather than a brush. Step 4: Add Your BrushstrokesĪfter your new layer is added, use one of your smoke brushes to add the smoke effect. Then, add a new layer in the Layers Panel with the Create A New Layer button. Now that you have access to your Smoke Brushes, make sure your Foreground Color is white. Step 3: Set Up Your Brush And Add A New Layer Locate the brushes on your device, select them, and click Open.įrom here, you can click on the Brush Settings button to find your imported brushes. In the window that pops up, click on the Gear Icon and select Import Brushes. Once your smoke brushes are downloaded, select the Brush Tool ( B) and open the brush tip preset panel. I’ll be using this brush pack in the following examples. To make life easy, I’ve created 5 free smoke brushes for Photoshop that you can download here. Step 1: Download Your Smoke Brushesīefore you can start using smoke brushes, you first need to download some Photoshop brushes. The fastest way to make smoke in Photoshop is by using smoke brushes, which allow you to stamp the effect onto your photo. How To Quickly Create Smoke In Photoshop Using Brushes Step 11 Clip The Clouds Layer To The Placeholder Layer.Step 6 Adjust Your Smoke Effect With A Transform Mesh. 
Step 4 Convert Your Brushstrokes To A Smart Object. 
0 Comments
Leave a Reply. |
AuthorWrite something about yourself. No need to be fancy, just an overview. ArchivesCategories |
 RSS Feed
